


Introduction
If you are reading this I assume you know about splitwise application. A one-line summary in their words is "Splitwise is a free tool for friends and roommates to track bills and other shared expenses so that everyone gets paid back"
I use another app called money manager for personal expenses, but instead of jumping between applications I always wanted one app to track all my expenses. I was about to send feedback to Splitwise to add a feature where I can add costs only where I am involved, interestingly enough many users needed this feature and thanks to them the Splitwise team have suggested a way to do it.
All my expenses are in the same app, now what? Although all my expenses are in the same place, Splitwise doesn't have a feature to tell me how much I've spent in the previous month across the application. So the curious person in me wanted to solve this problem, that is how this Side-Project-Sunday is born.
Requirements
Now as the storytime is done, let's list down all the requirements
- Ability to get the total expense
- For a given date/date range
- For a given friend(s)/group(s)
- Output a pie chart for a given date range
- For Group-wise expenses
- For Category-wise expenses
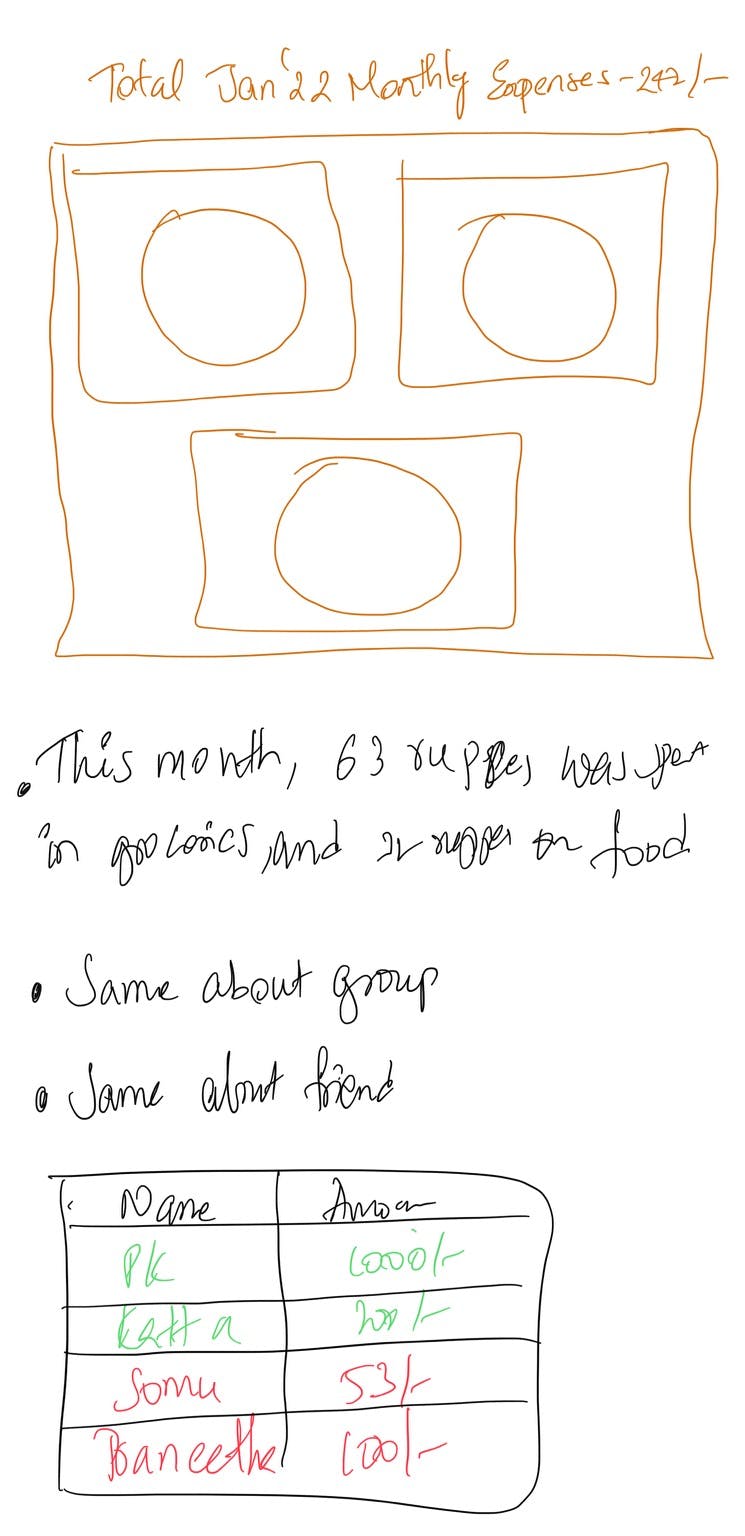
- Send an email on the first day of the month, with the following template
Research
Fetching data
With a quick googling about how we can do it, I found that Splitwise is supported in automation apps like Zapier, make etc.., although with a little bit of effort we can use these apps to fulfil my requirements, I thought it would be better if I code it myself so that I'll have more control on the output.
Further googling landed me on Splitwise dev documentation and I am so happy that there are a few developers who have developed third-party SDKs using the exposed APIs.
As I was planning to write a python script to implement this, I decided to use this python implementation by namaggarwal for my automation.
Email notification
For sending out the email, I wanted to use Gmail's SMTP server to send out the email. A quick search through the web helped me understand how I can do it. I've linked all the references that I've taken help from at the end of the article.
Scheduling
As I was planning to push my script to GitHub, I was thinking to have a GitHub action to run my script on a regular interval. GitHub supports multiple ways of triggering actions, of which one is cron expression. This should help me in running the script at the end of every month.
Implementation
At first, I started exploring the SDK to understand all the APIs I could use to fulfil my requirements.
Setup
First I've created a new application in Splitwise, this generates Consumer Key and Consumer Secret for us which we'll be using to authenticate our calls.
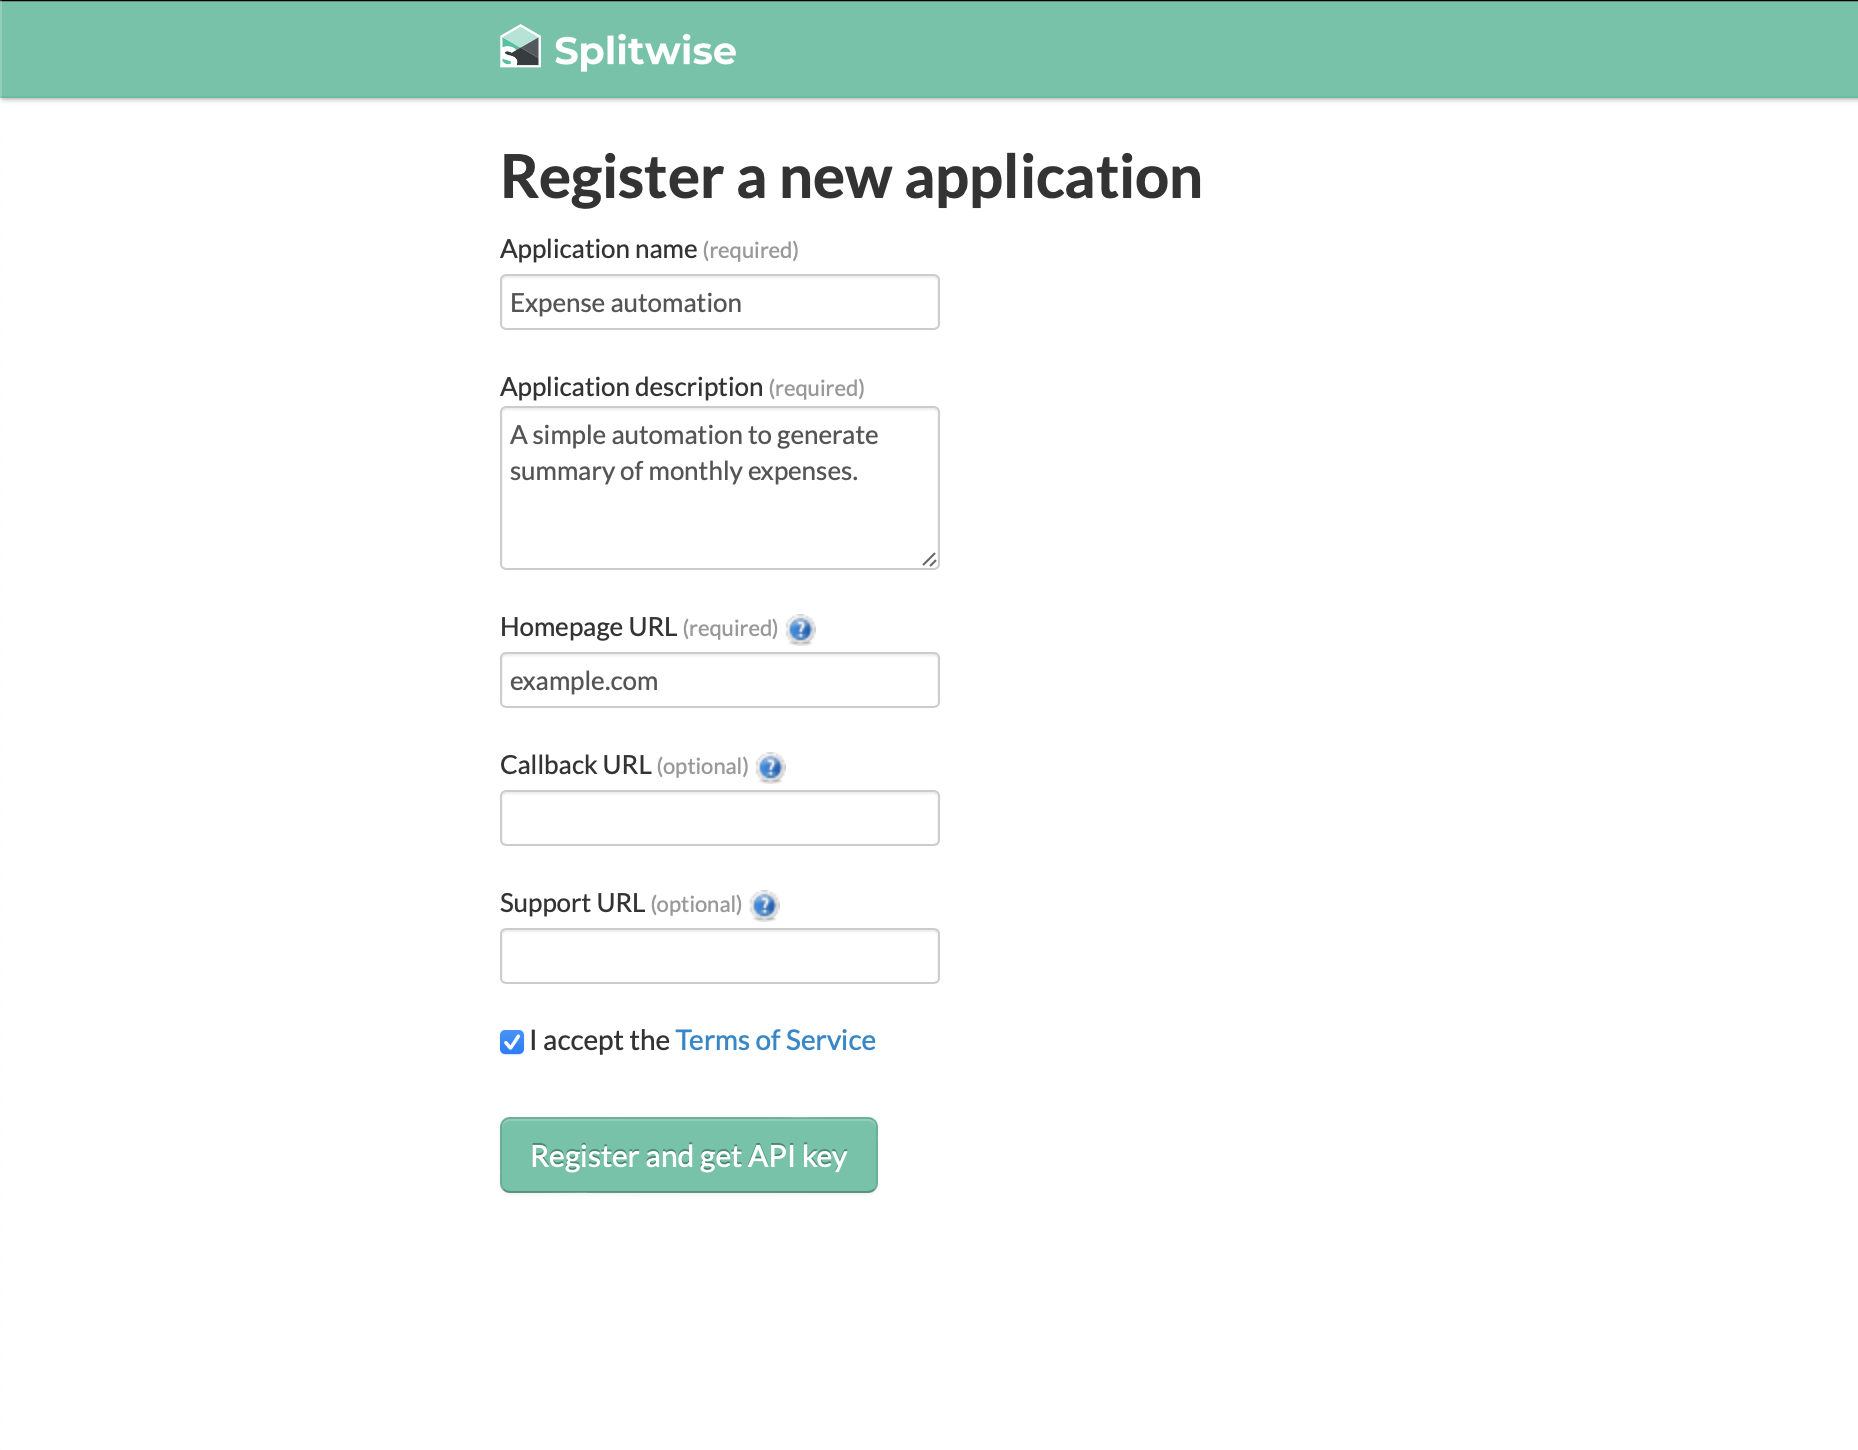
As I plan to use this for a personal use case I've generated an API key, instead of going through the hassle of setting up OAuth1/OAuth2.
Let's play with the API
Let's go through all the APIs that Splitwise supports and list down the methods in which we are interested.
Get all expenses of the current user
This API is so powerful that most of our logic will rely on this, the getExpenses method supports a wide variety of filters with which we can filter the data based on createdDate, updatedDate, groupIds, friendIds etc.., As I'll need the data for the past month, I'll just get all the expenses for the previous month date range. Unfortunately, this API doesn't give us all the details in one network call hence we need to get all the data by making multiple network calls.
s = Splitwise(CONSUMER_KEY, CONSUMER_SECRET, api_key=API_KEY)
expenses = []
current_page_num = 0
page_size = 100

while True:
    curr_page_expenses = s.getExpenses(
        dated_after=start_date,
        dated_before=end_date,
        limit=page_size,
        offset=current_page_num * page_size,
    )
    if len(curr_page_expenses) == 0:
        break
    current_page_num = current_page_num + 1
    expenses = expenses + curr_page_expenses
Get all Groups and Friends
The getGroups and getFriends method fetches us all the friends and group data to us which we can map with the expense data that we've fetched earlier.
groups = s.getGroups()
friends = s.getFriends()
We can traverse through friends' data and filter out friends where we owe them or where we are owed.
def get_friends_with_outstanding_table(friends):
    friends_with_outstanding_balances = []
    for f in friends:
        balance = sum(map(lambda b: float(b.amount), f.balances))
        if balance != 0:
            color = "red" if balance < 0 else "green"
            friends_with_outstanding_balances.append([f.first_name, balance, color])

    friends_with_outstanding_balances.sort(key=lambda f: f[1], reverse=True)
    return friends_with_outstanding_balances
Visualization
When it comes to visualization in python, most of us are familiar with matplotlib. The same is the case with me, so I used matplotlib to generate the charts.
Email notification
As I mentioned earlier, I wanted to use Gmail's SMTP server to send out emails. There are plenty of articles available on how to setup and send out emails using Gmail which I'll link at the end of the article.
Scheduling the script
Let's first create a Github action to run our script and send out the email. Let the name of the job be send-email
jobs:
  send-mail:
    runs-on: ubuntu-latest

    steps:
The first step of our job is to checkout the repository with the default branch. There is already an action available in GitHub Action Marketplace for this.
jobs:
  send-mail:
    runs-on: ubuntu-latest

    steps:
      - name: Checkout Repos
        uses: actions/checkout@v2.4.2
Next, set up the python environment so that our script can run without any issues. I'll be using setup-python from marketplace to install python and pip.
jobs:
  send-mail:
    runs-on: ubuntu-latest

    steps:

      - name: Checkout Repos
        uses: actions/checkout@v2.4.2

      - name: Setup Python
        uses: actions/setup-python@v4.2.0
        with:
          python-version: 3.8.0
          cache: pip
          architecture: x64
          update-environment: true
Finally, let's install all the required libraries using pip and then run our script.
jobs:
  send-mail:
    runs-on: ubuntu-latest

    steps:

      - name: Checkout Repos
        uses: actions/checkout@v2.4.2

      - name: Setup Python
        uses: actions/setup-python@v4.2.0
        with:
          python-version: 3.8.0
          cache: pip
          architecture: x64
          update-environment: true

      - name: Install required dependencies
        run: python -m pip install -r requirements.txt

      - name: Run Automation
        run: python main.py
As our action is ready to go, let's now try to schedule the action at regular intervals. GitHub supports cron expressions as schedule which we'll be using to schedule our script to run on the 1st of every month.
on:
  push:
    branches: [ "main" ]
  schedule:
    - cron: 0 10 1 * *
The complete yml file can be found here.